Project2 - Guanyou Li
Part 1.1: Finite Difference Operator
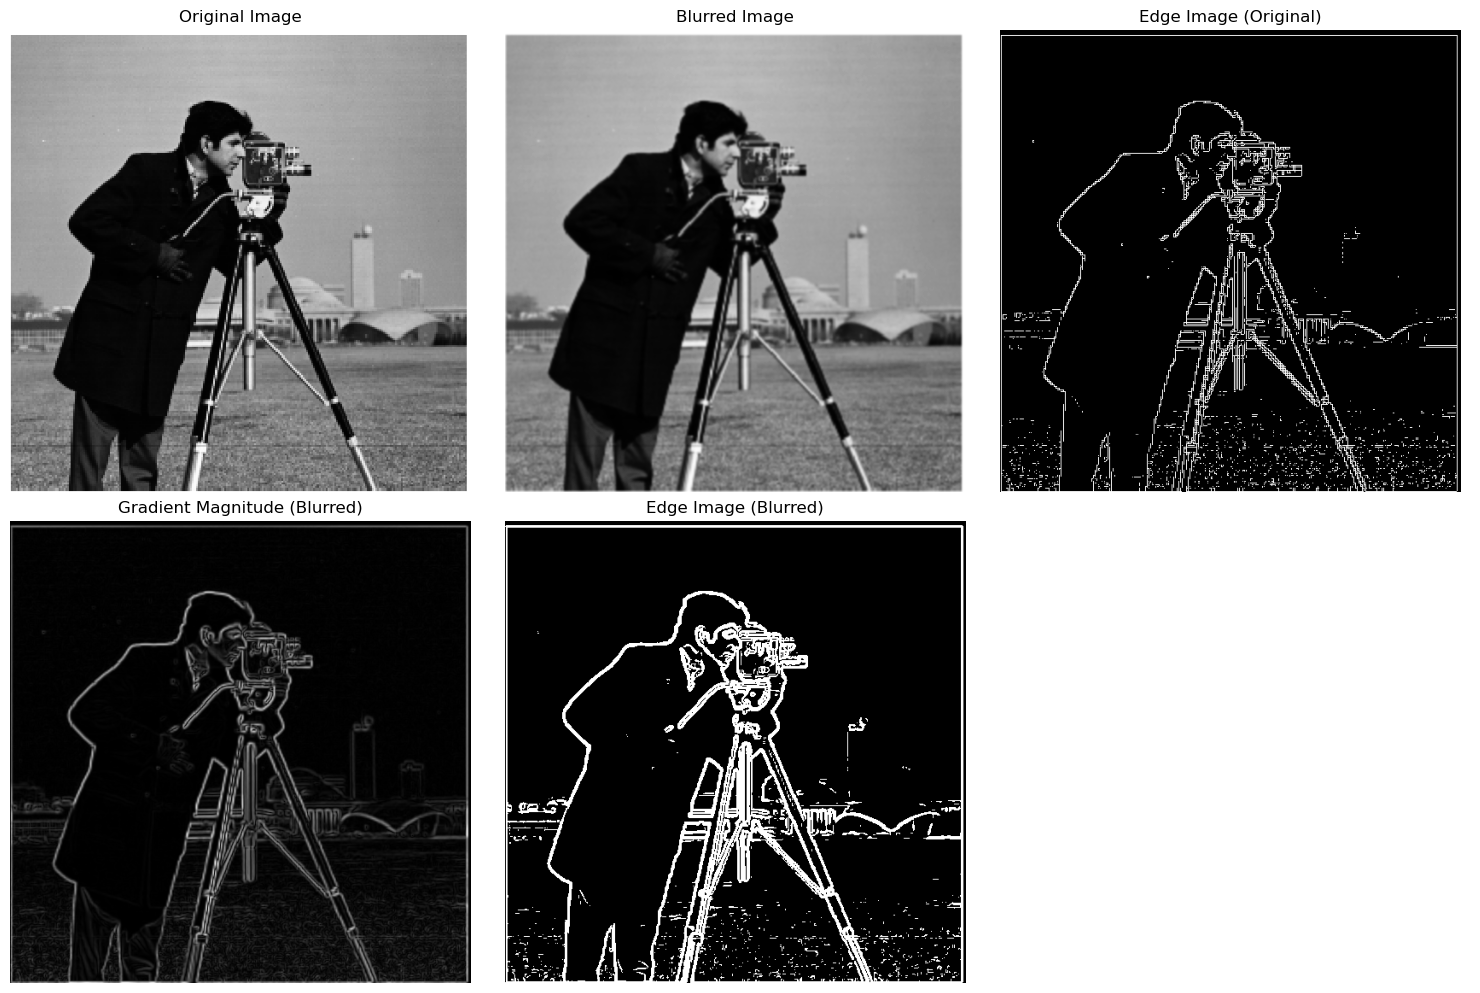
The gradient magnitude represents the strength of edges at each pixel in an image. It is computed by combining the partial derivatives of the image in the x and y directions.
For each pixel in the image, we calculate the derivatives \( I_x \) (horizontal change) and \( I_y \) (vertical change) using finite difference operators. These derivatives give us the rate of change in intensity across the image in both directions, which are crucial for detecting edges.
The gradient magnitude at each pixel is then computed using the Euclidean norm (Pythagorean theorem):
\[
\text{Gradient Magnitude} = \sqrt{I_x^2 + I_y^2}
\]
This formula gives a scalar value that quantifies the strength of the edge at that pixel, with larger values indicating stronger edges. The gradient magnitude image shows how fast the pixel values are changing, which corresponds to the presence of edges. To create a binary edge map, we threshold this gradient magnitude to identify the most significant edges while suppressing noise.
Here is the result:
Part 1.2: Derivative of Gaussian (DoG) Filter
I reduce the noise that resulted from using only the finite difference operator by introducing a Gaussian smoothing filter.
First, I create a Gaussian filter and convolve it with the original image to produce a smoothed version. We then calculate the image gradients and edge image by applying the finite difference operators to the smoothed image. This method gives fewer noisy edges compared to applying the finite difference directly to the original image.
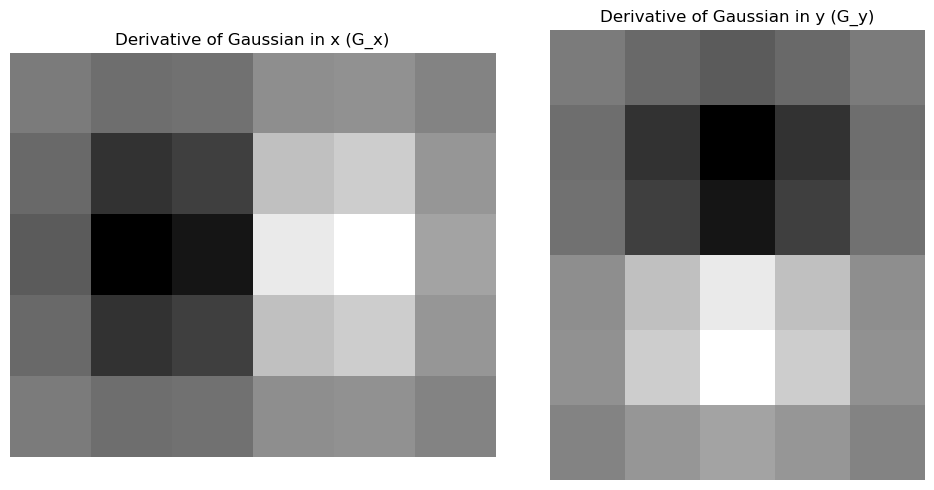
Next, instead of first smoothing the image and then applying the finite difference operator, I create the DoG filters by convolving the Gaussian filter with the finite difference operators. These filters can be applied directly to the original image to get the gradients and edges in one step.
Differences:
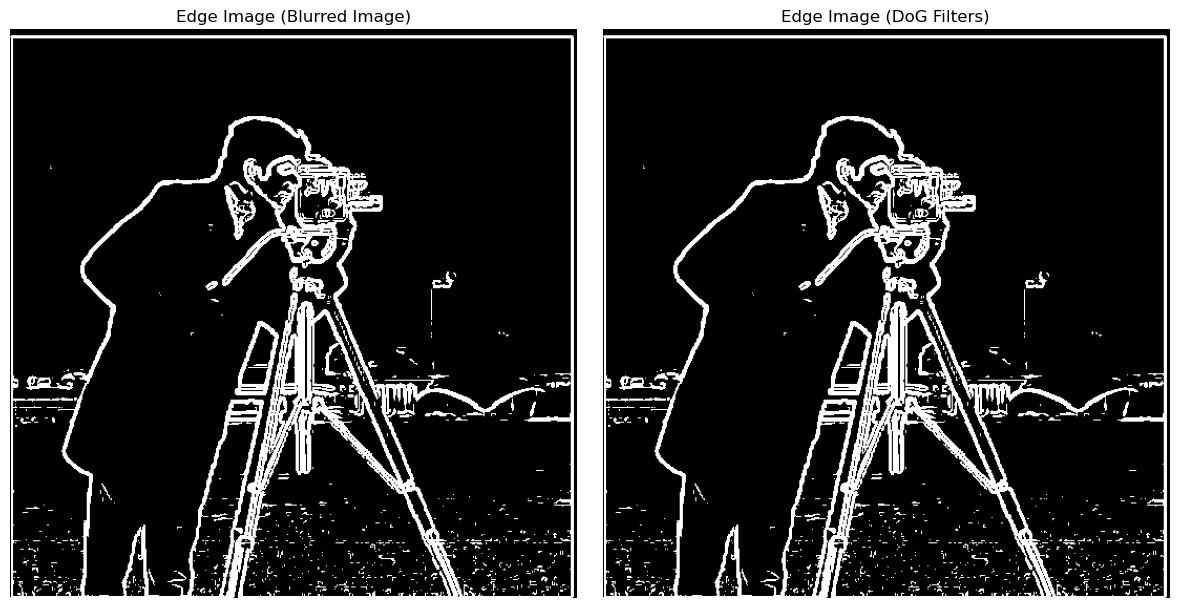
- Blurred Image Approach: The edges are smoother, and the background has less noise due to the Gaussian smoothing step.
- DoG Approach: The results are very similar to the blurred image approach, but DoG allows us to achieve the result with one convolution instead of two. This is more efficient and computationally simpler.
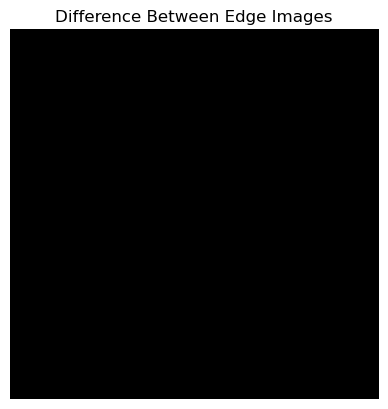
I can do the same thing with a single convolution instead of two by creating derivative of Gaussian filters. Convolving the Gaussian with \( D_x \) and \( D_y \) and displaying the resulting DoG filters as images. We find that they get the same result and no difference as shown.
Part 2.1: Image "Sharpening"
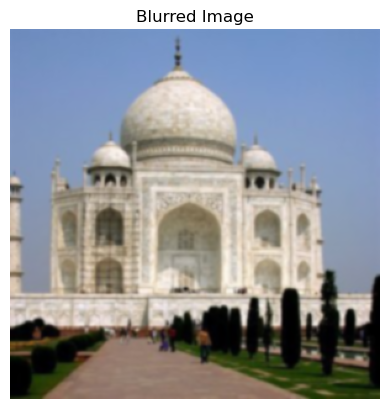
In processing images, Gaussian blur emerged as a common smoothing technique. Its essence lies in using a Gaussian function to generate a weight matrix, which is then applied to the image through convolution. The primary goal of Gaussian blur is to reduce image details and noise, resulting in a softer and more aesthetically pleasing appearance. This technique is particularly useful in scenarios like noise reduction, background softening, and preparing images for further analysis.
Convolution involves sliding a filter over the image and performing a weighted sum of the overlapping pixels to produce a new pixel value. This operation is versatile, enabling not only blurring but also edge detection and sharpening, depending on the chosen filter. Mastering convolution allowed me to apply various filters flexibly, tailoring the image characteristics to meet specific requirements.
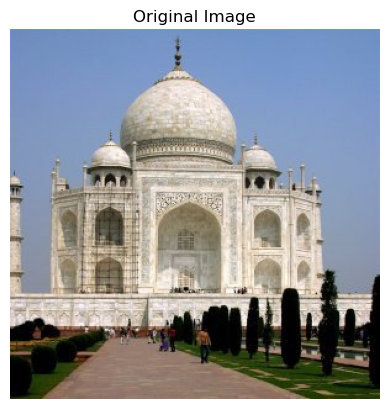
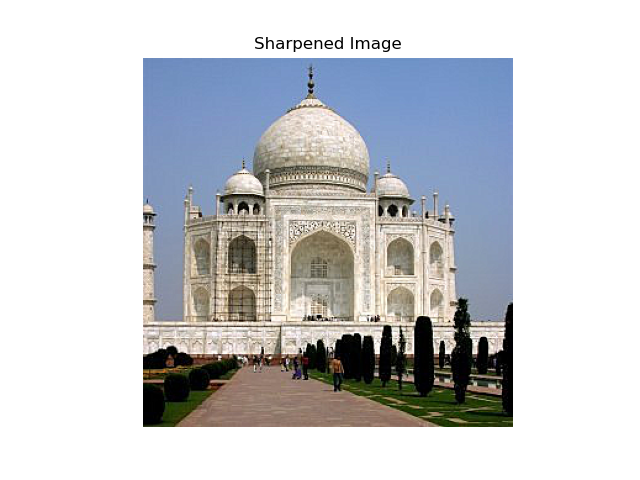
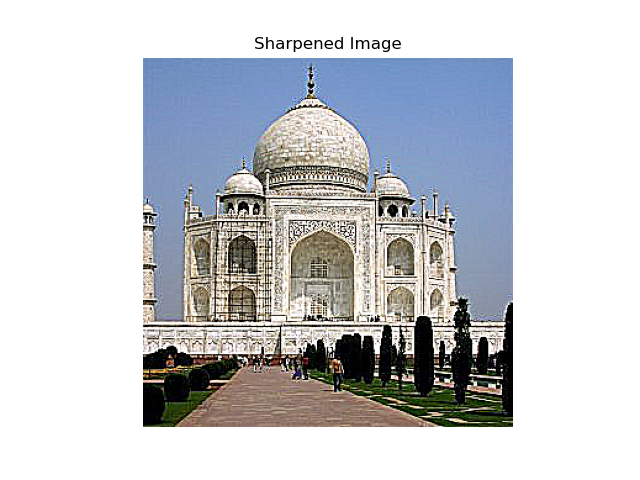
Sharpening the image was my next challenge, aiming to enhance high-frequency information such as edges and fine details to make the image appear clearer and more defined. I employed the Unsharp Mask technique, which involves subtracting a blurred version of the image from the original to extract high-frequency components. By scaling these components with a factor (alpha) and adding them back to the original image, I was able to significantly improve the image's sharpness and contrast, making details more prominent.
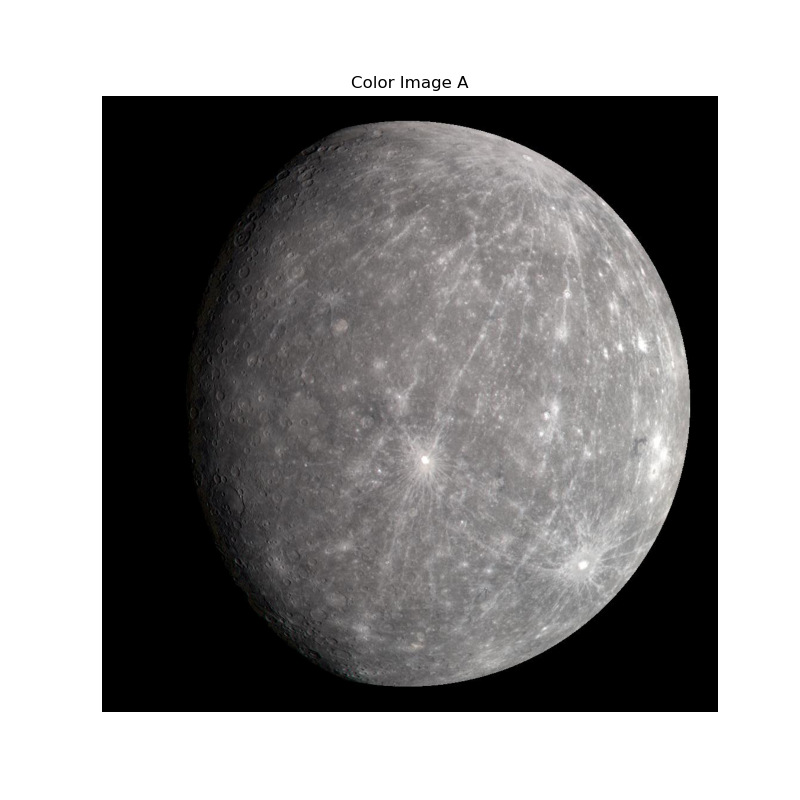
Working with color images introduced the need to handle multiple channels—red, green, and blue—individually. Each color channel carries distinct information, so applying blur and sharpening separately to each channel ensures that the color integrity is maintained and that the sharpening effect is evenly distributed across the entire image. This approach prevents color distortions and ensures that the enhanced details are consistent across all colors.
Adjusting parameters such as the size of the Gaussian kernel, the standard deviation (sigma), and the sharpening intensity (alpha) was essential for optimizing the effects. Larger kernels and higher sigma values result in more pronounced blurring, while higher alpha values lead to stronger sharpening. Through iterative testing and fine-tuning, I was able to control the degree of blur and sharpen the images effectively, achieving the desired visual outcomes for different types of images and applications.
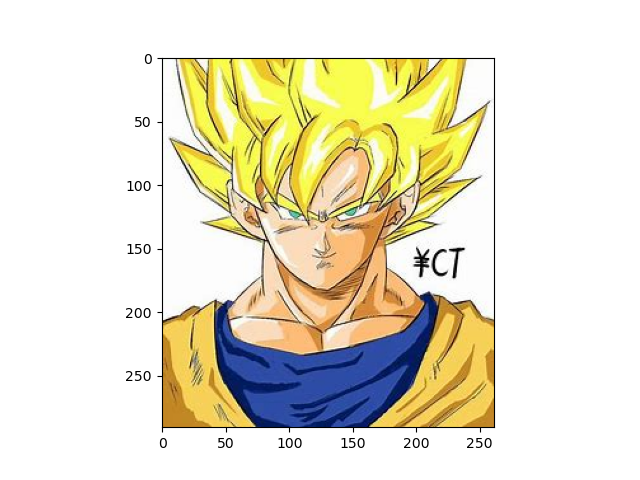
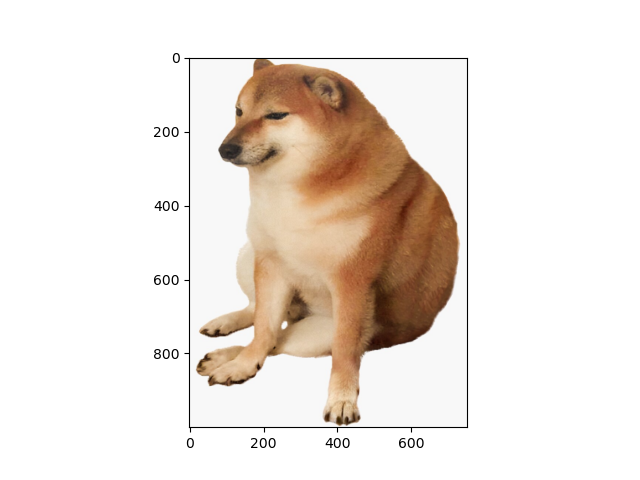
Here are several results:
alpha = 1

alpha = 3

alpha = 5

alpha = 7

alpha = 9

alpha = 1

alpha = 3

alpha = 5

alpha = 7

alpha = 9

Part 2.2: Hybrid Images
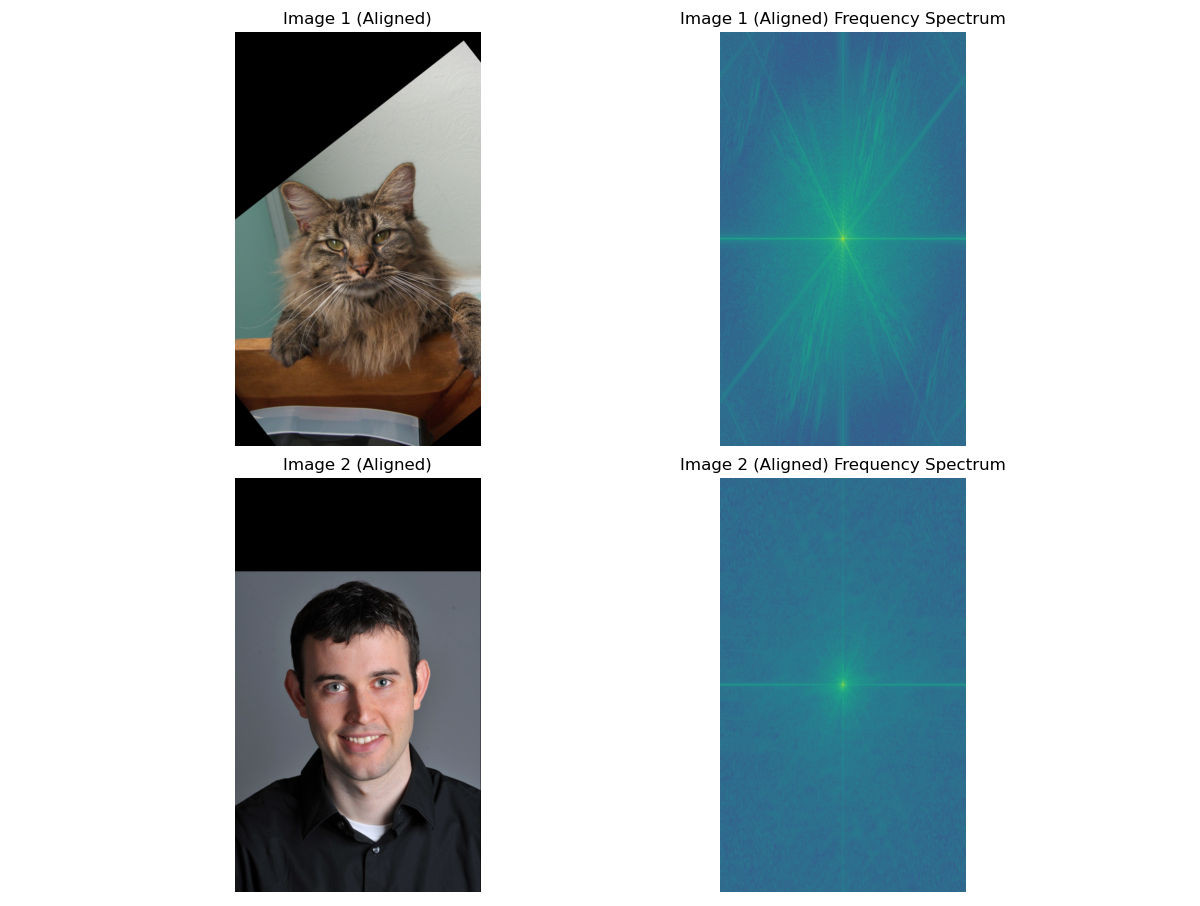
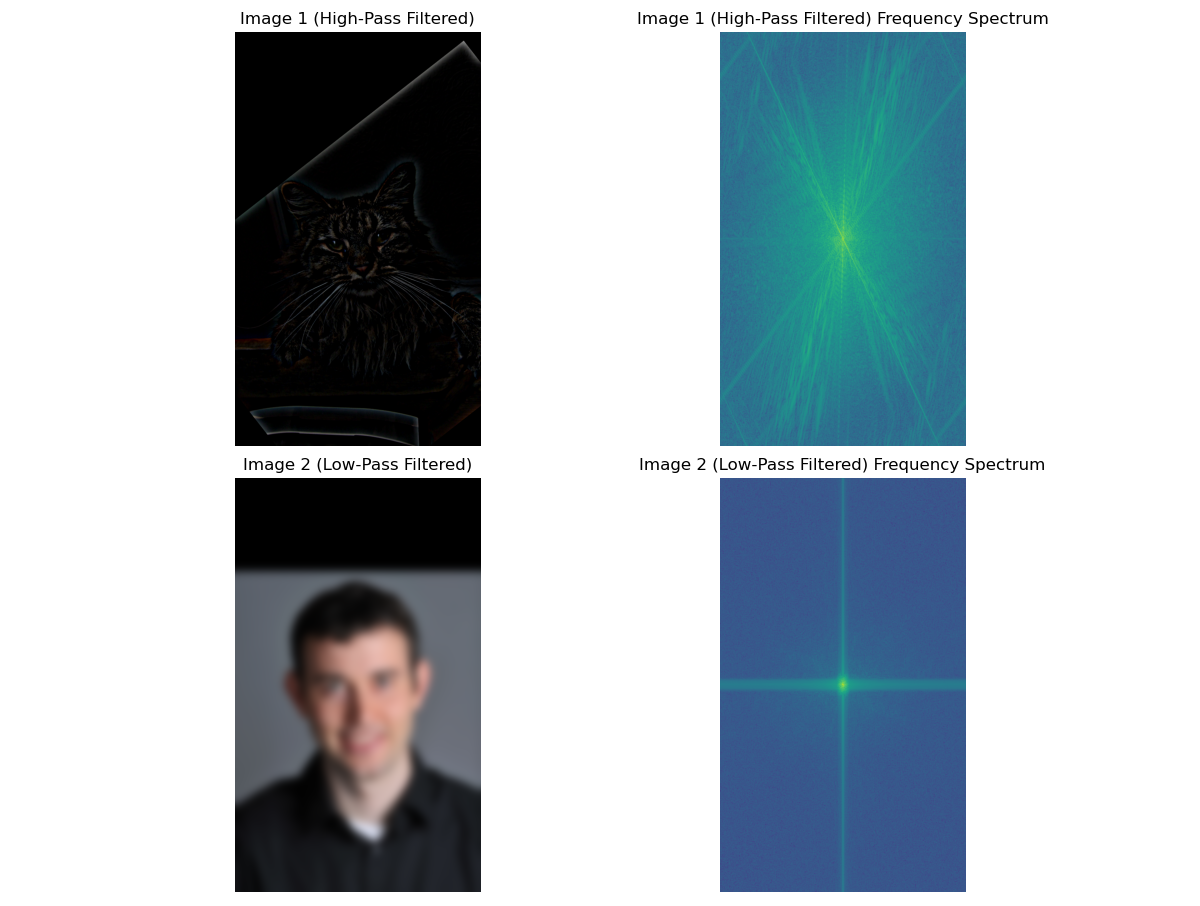
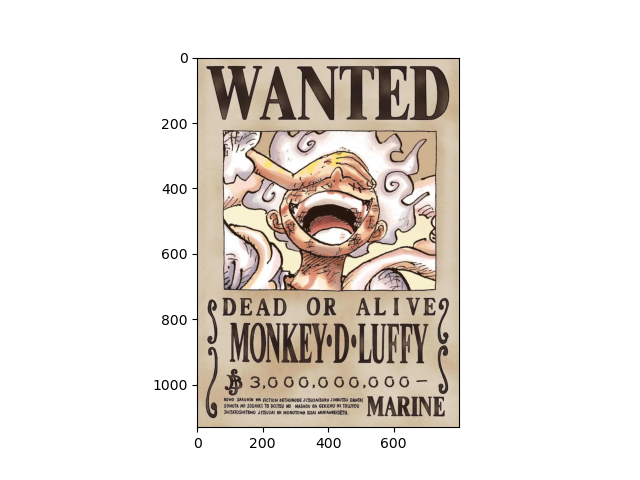
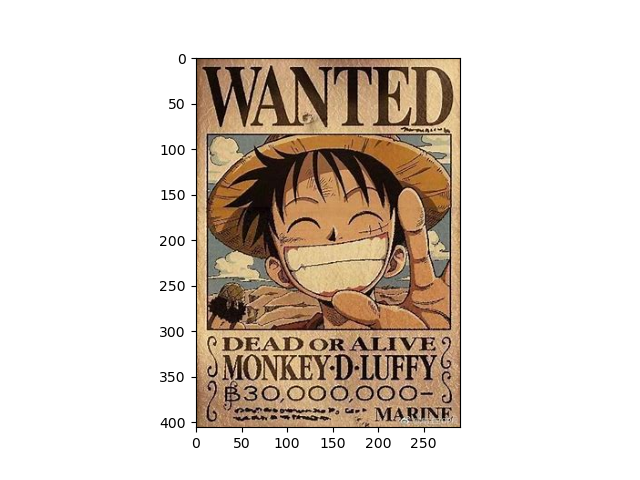
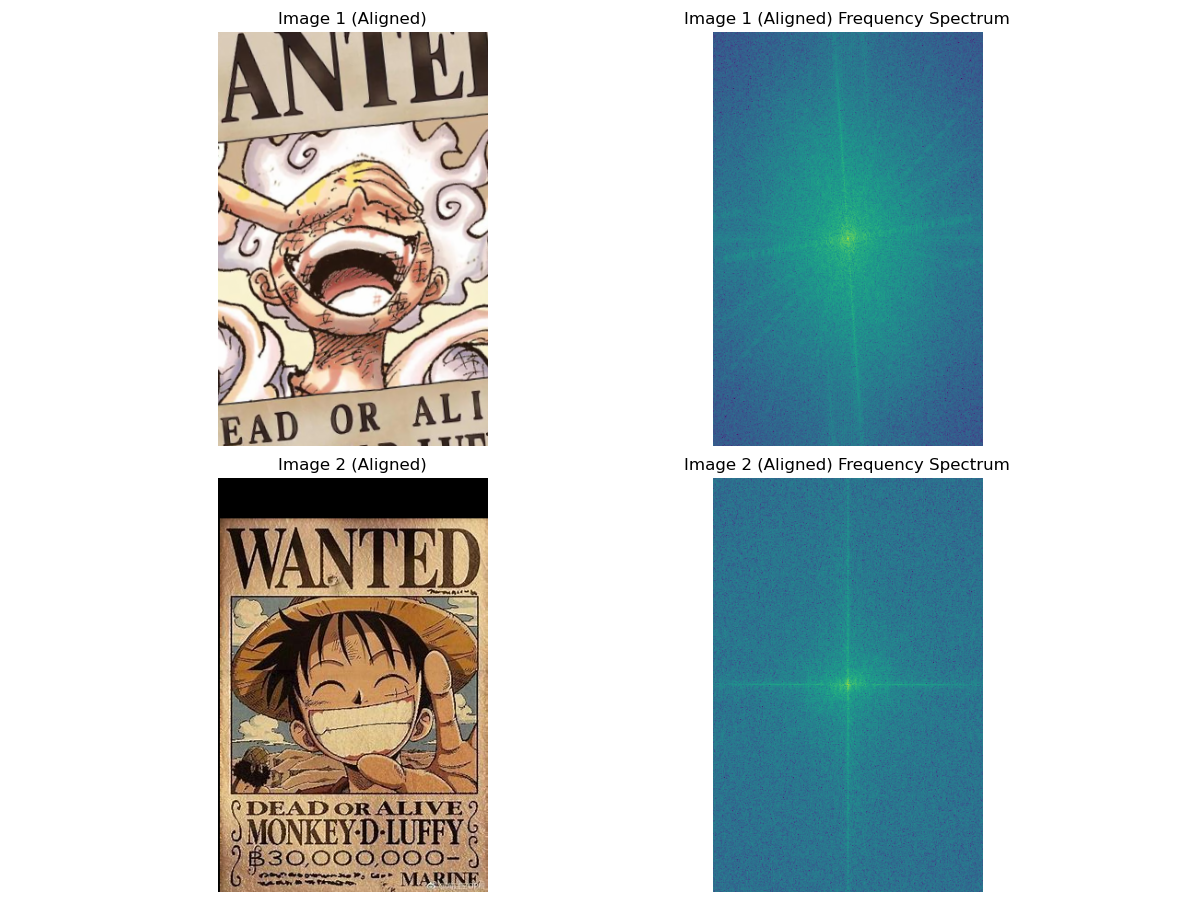
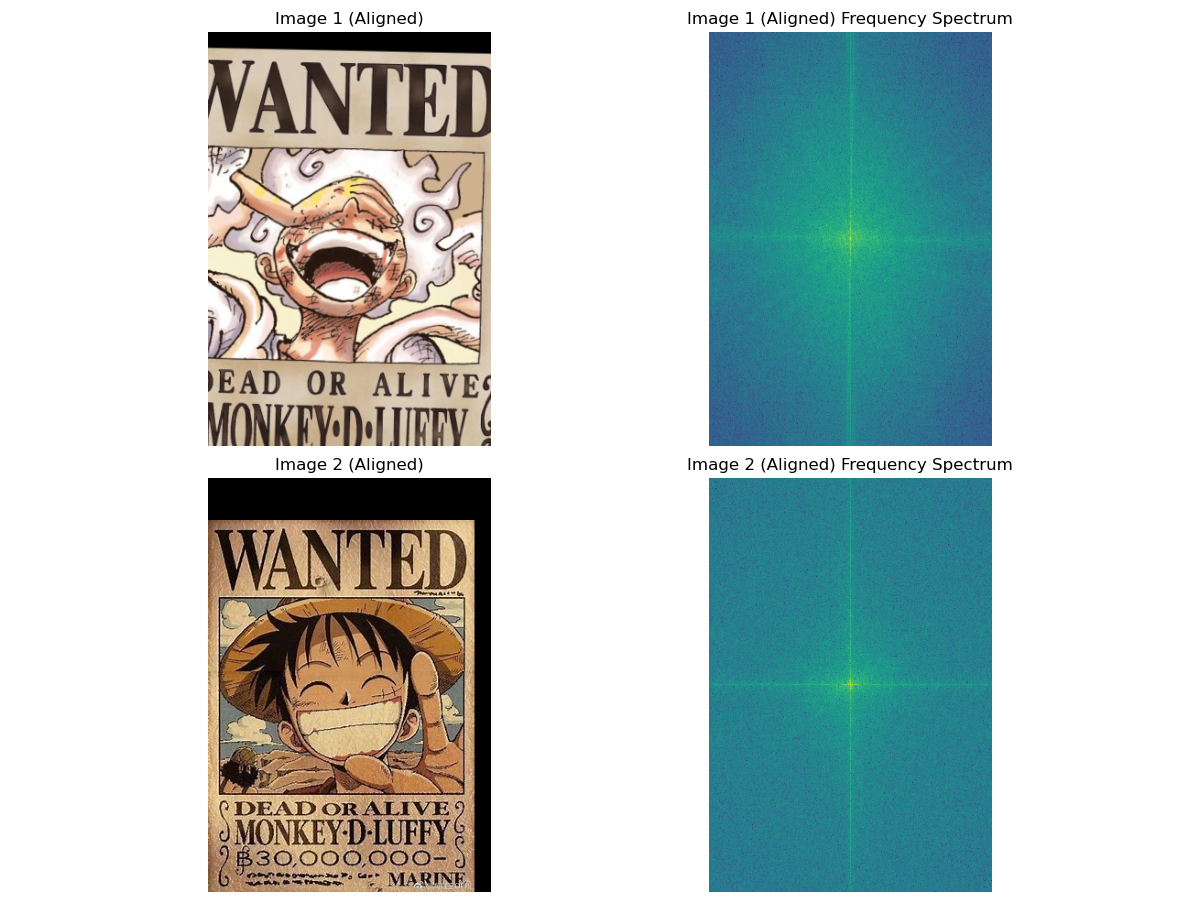
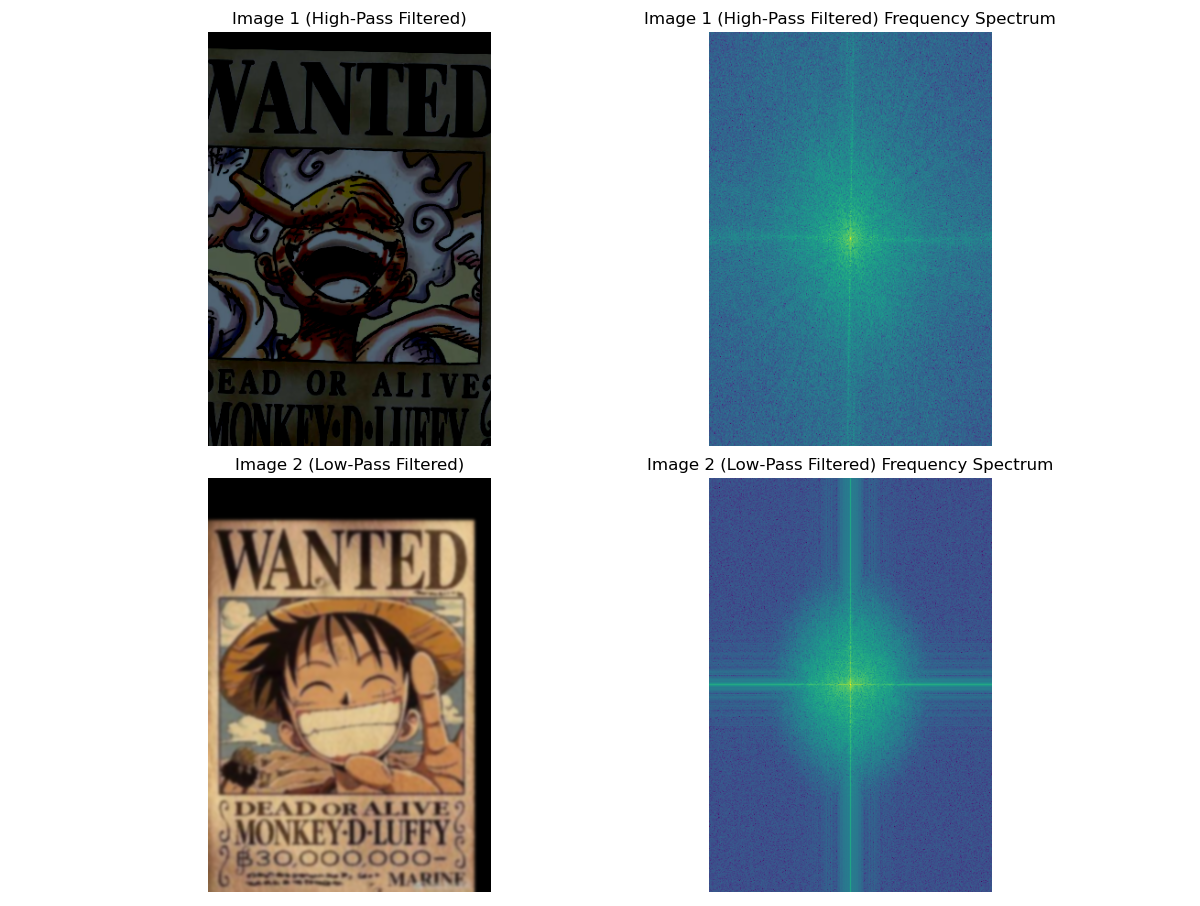
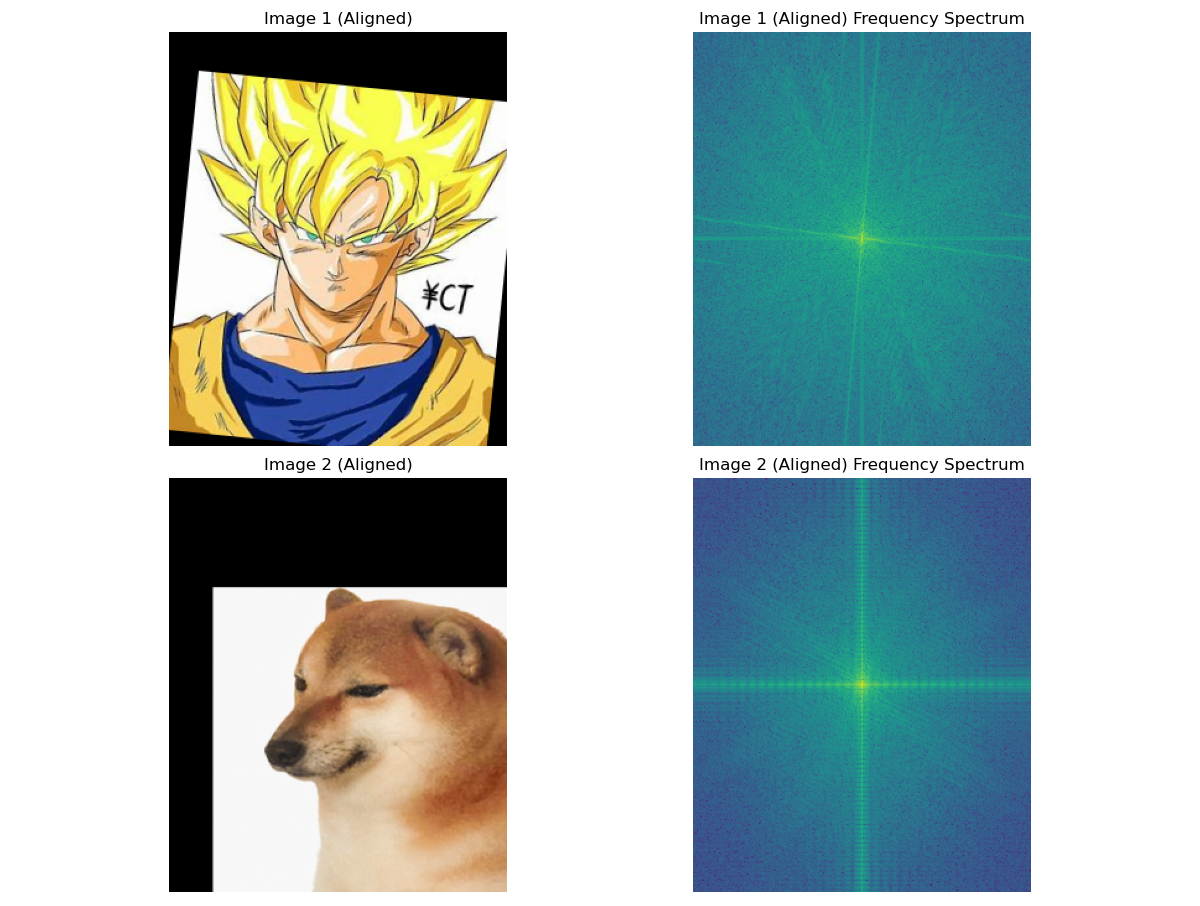
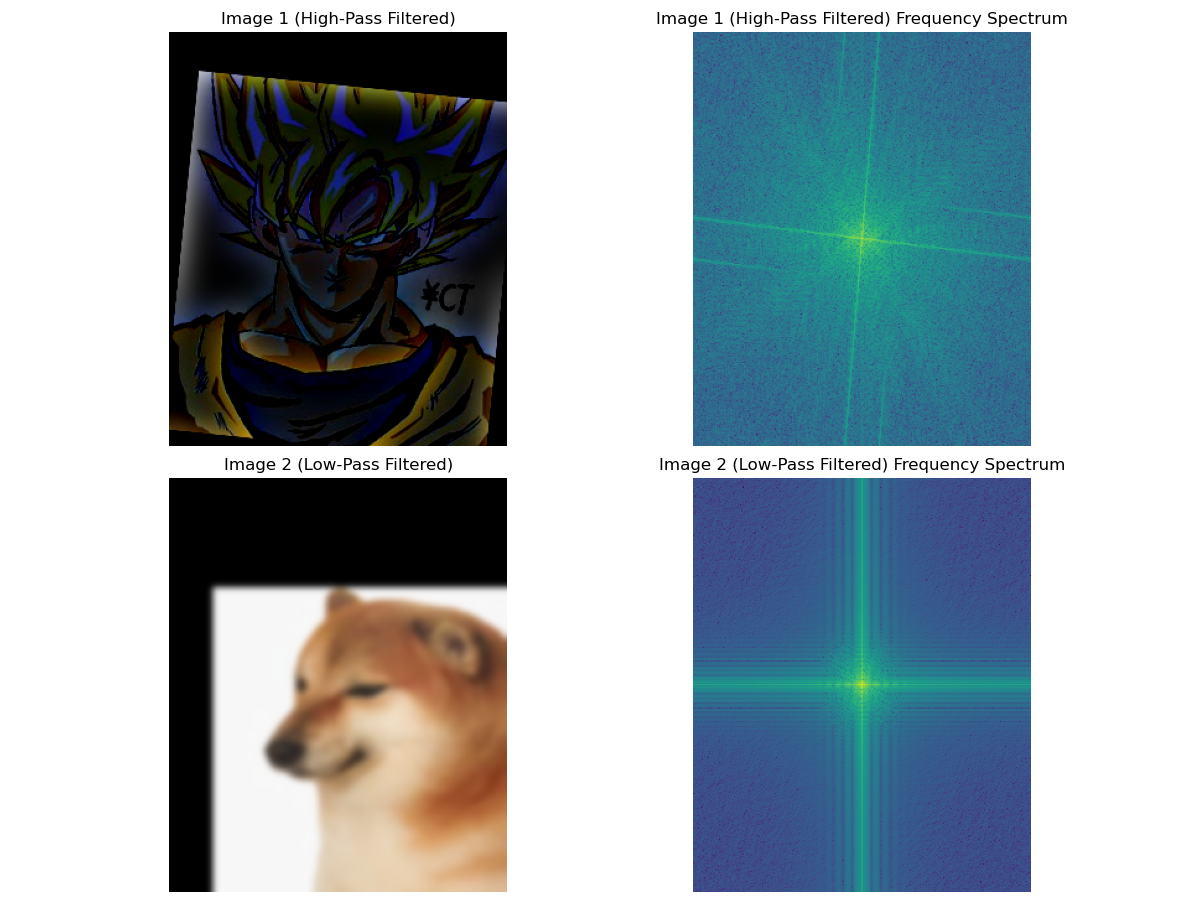
When I worked on this image processing project, I utilized several key technologies to achieve image alignment, filtering, and frequency analysis. I started by loading two images and aligning them using OpenCV to ensure they matched correctly. To separate the images into their frequency components, I created low-pass and high-pass filters with Gaussian kernels using NumPy. Applying these filters through convolution allowed me to extract smooth backgrounds from one image and detailed textures from the other. To handle the multiple color channels efficiently, I employed multithreading, which sped up the processing significantly.
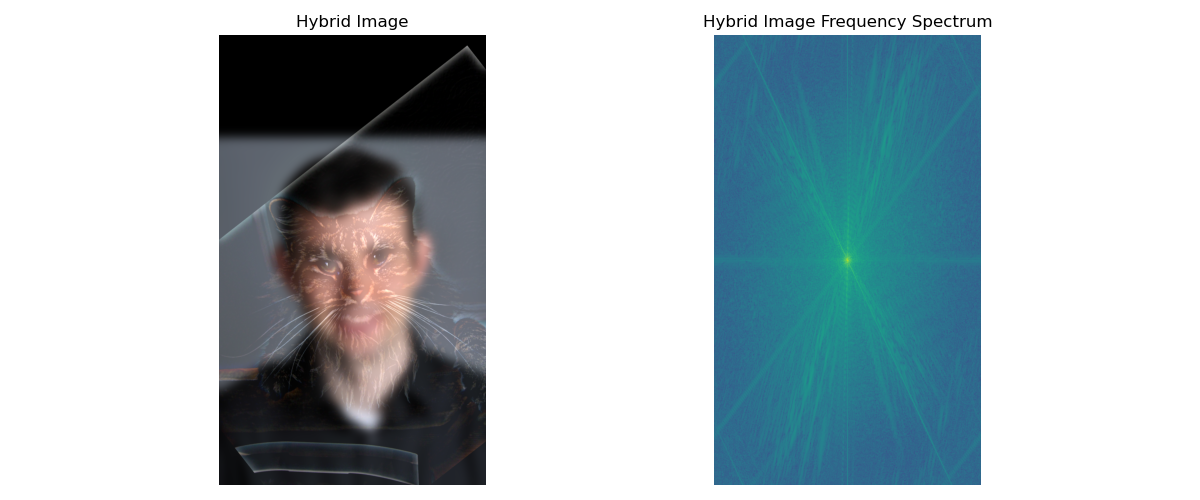
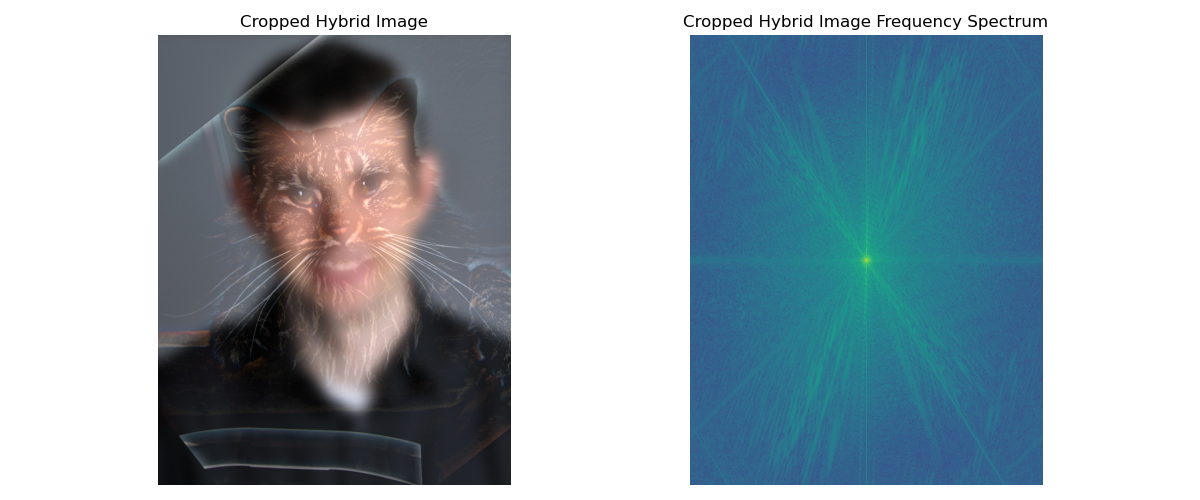
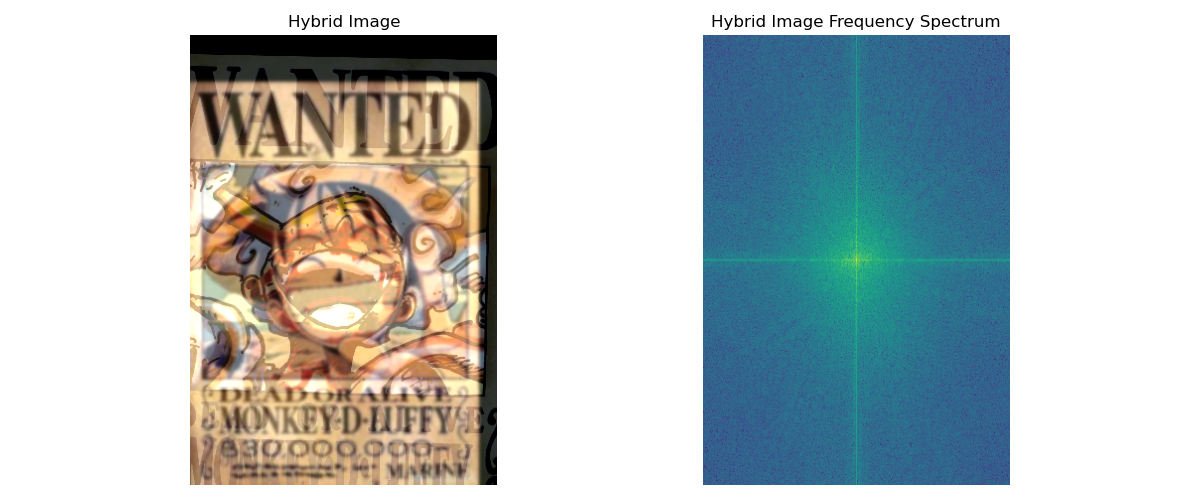
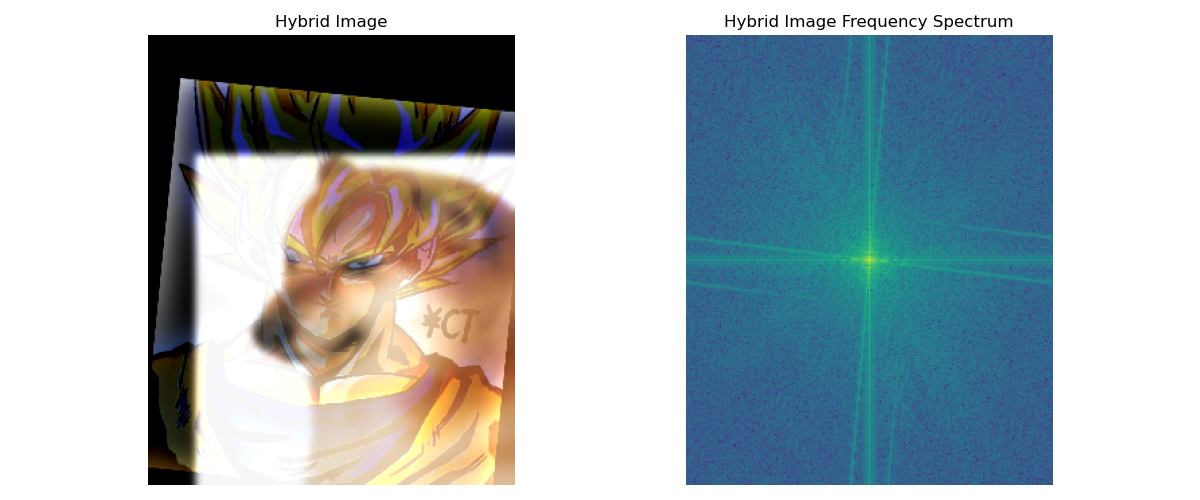
Next, I performed Fourier transforms to analyze the frequency spectra of the original and filtered images, providing a deeper understanding of how the filters affected the images. By combining the high-frequency details of one image with the low-frequency background of the other, I created a hybrid image that showcased both sharp details and smooth areas. Finally, I visualized the results using Matplotlib, which helped in comparing the original, filtered, and hybrid images clearly. This approach not only enhanced the images effectively but also optimized the processing workflow, demonstrating the powerful combination of these technologies in image manipulation.
Share
This is the false application of a hybrid photo, it looks really weird.
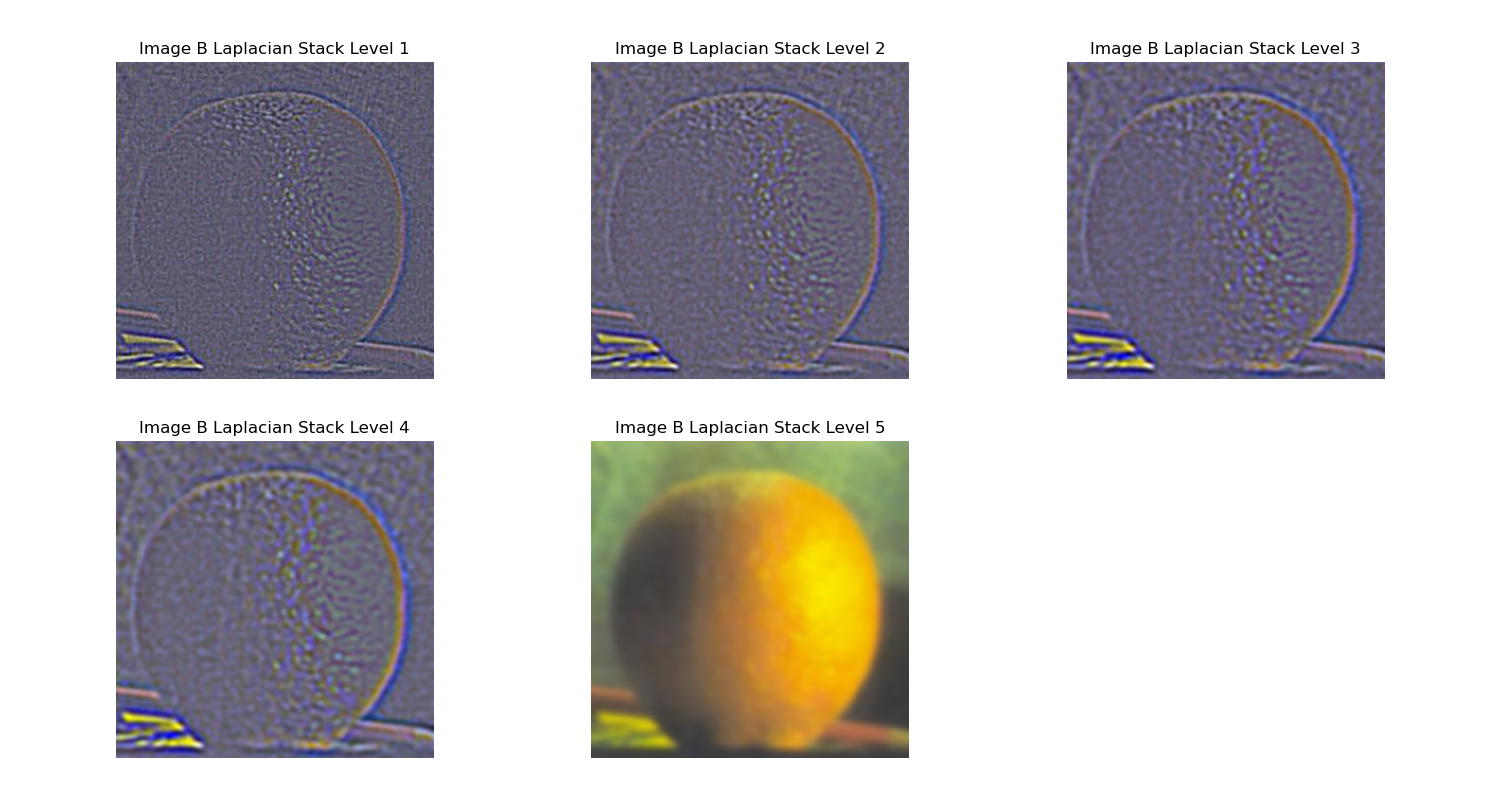
Part 2.3: Gaussian and Laplacian Stacks
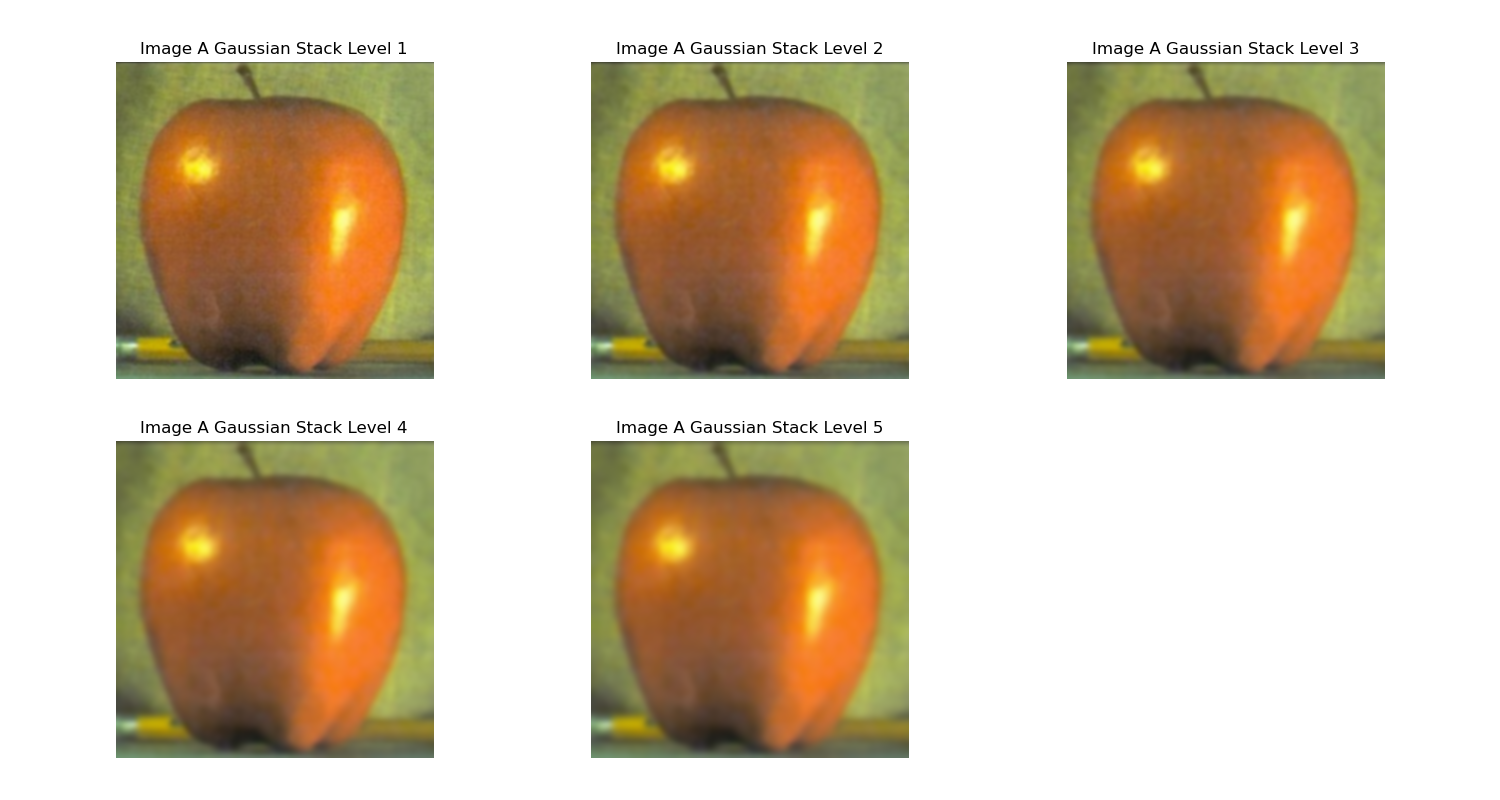
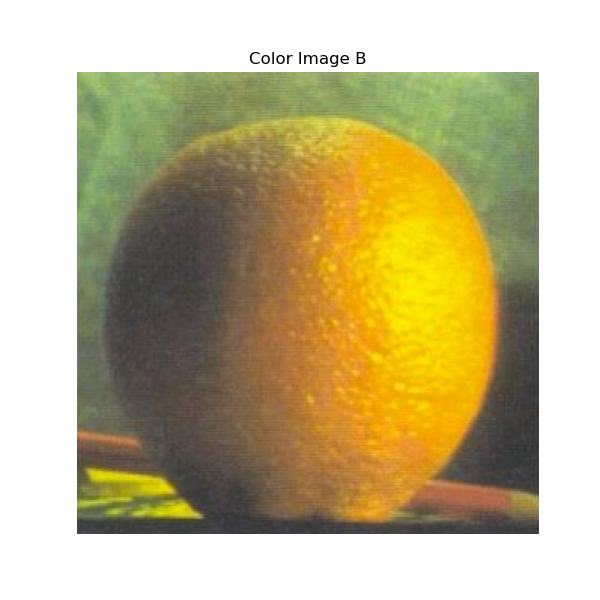
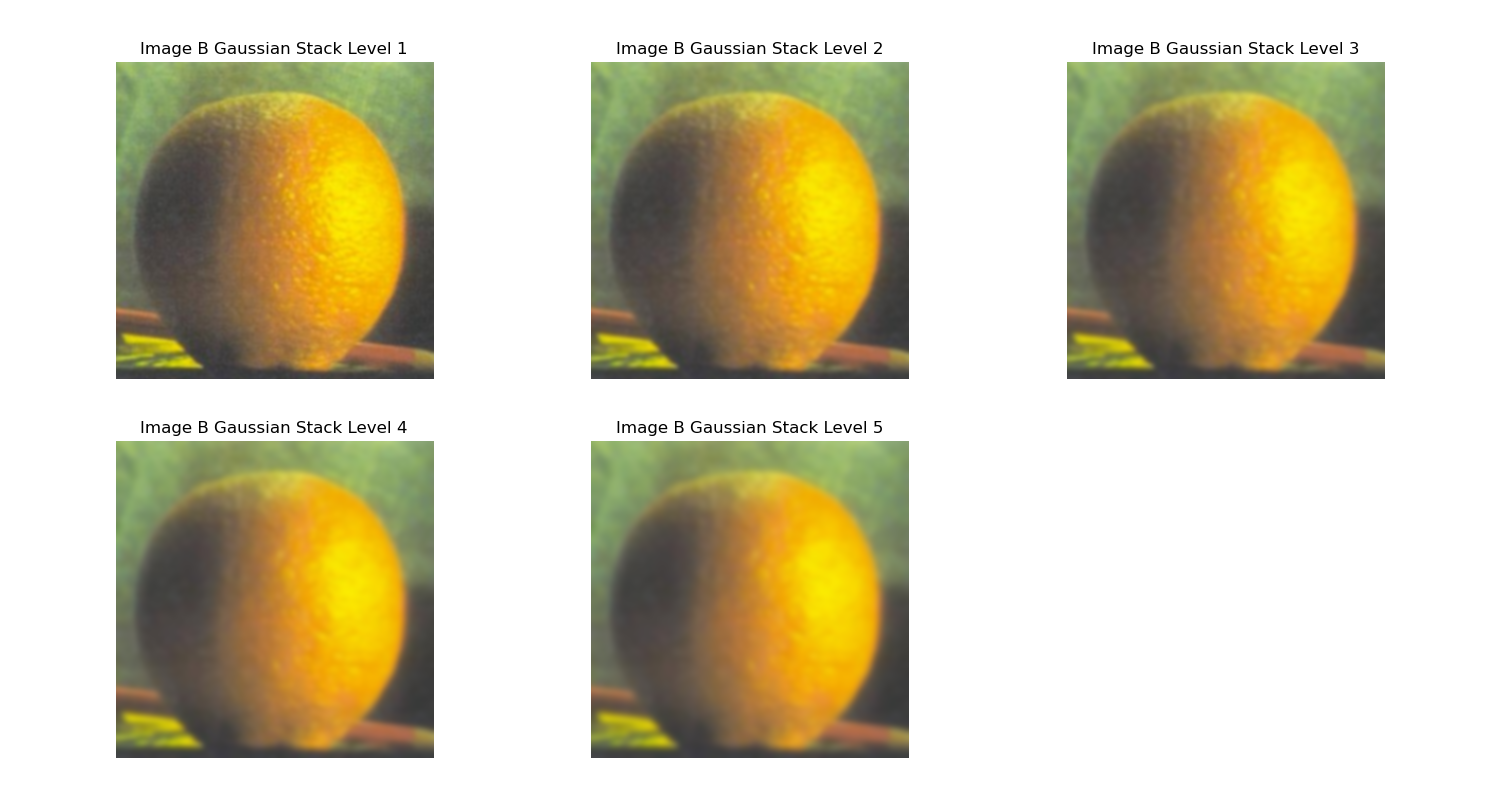
In this program, I used Gaussian and Laplacian stacks to process two images and eventually reconstruct them. First, I started by applying Gaussian blur to the original images. The main idea of Gaussian blur is to smooth out the details by averaging neighboring pixels based on a weighted function. I set an initial sigma (standard deviation) and incremented it for each level, gradually increasing the blur. With this, I generated a series of progressively more blurred images, forming the Gaussian stack.
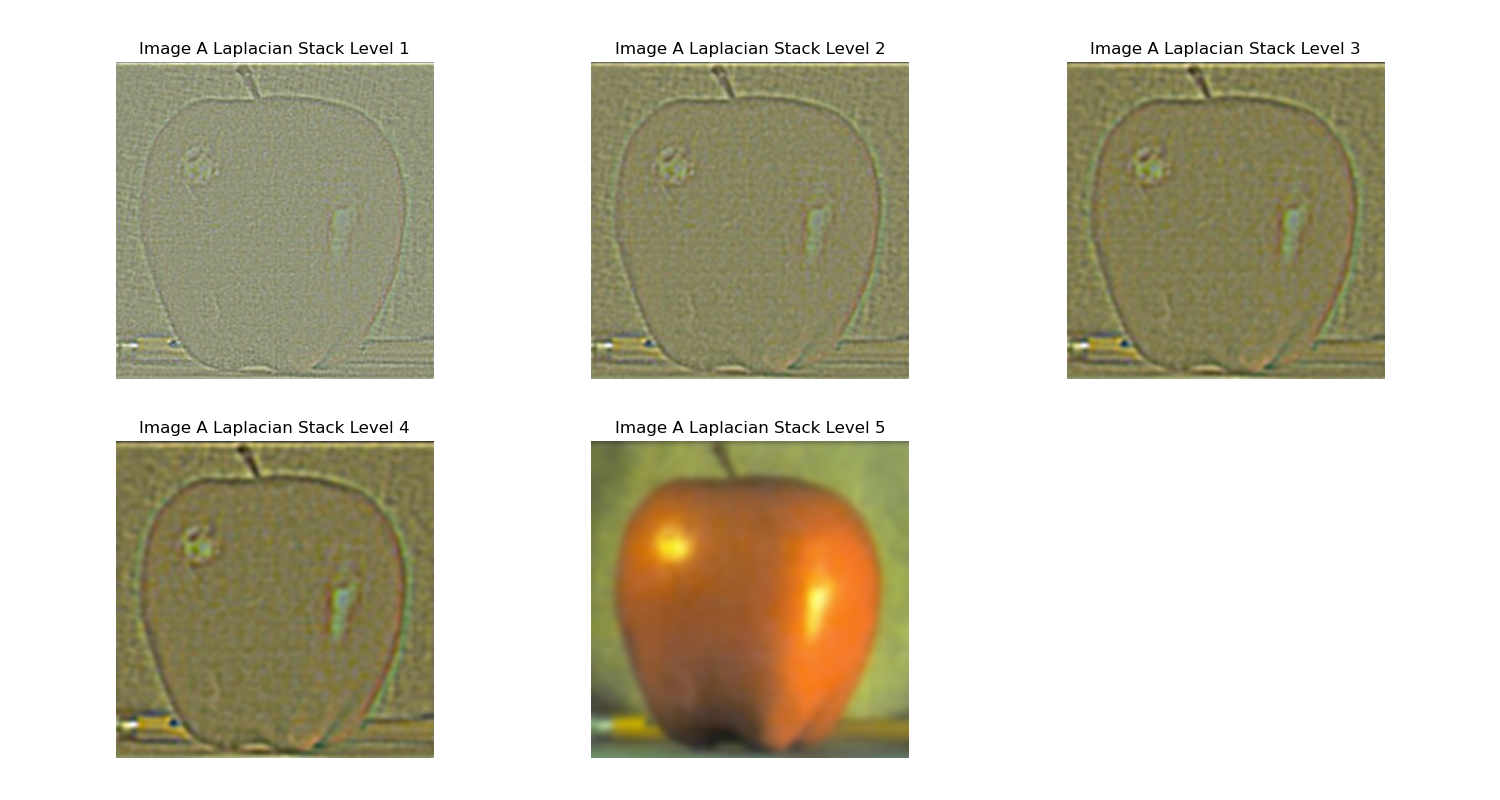
Next, I moved on to building the Laplacian stack, which extracts the details from each layer. To create the Laplacian stack, I subtracted adjacent layers from the Gaussian stack. This subtraction helps isolate the high-frequency information, such as edges and details. Each layer shows the difference between consecutive levels of blur, capturing the details that are lost as the image becomes more blurred. The final, most blurred layer of the Gaussian stack is directly preserved as the last layer of the Laplacian stack.
After generating the Laplacian stack, the next step was to reconstruct the original image. Starting from the bottom layer of the Laplacian stack, I used it as a base and applied upsampling and Gaussian blur to progressively restore details at each level. By adding back the detailed information from each Laplacian layer, I was able to reconstruct an image that closely resembles the original.
This method allowed me to effectively analyze and manipulate different levels of detail in the images while ensuring that the essential details weren’t lost during the process.
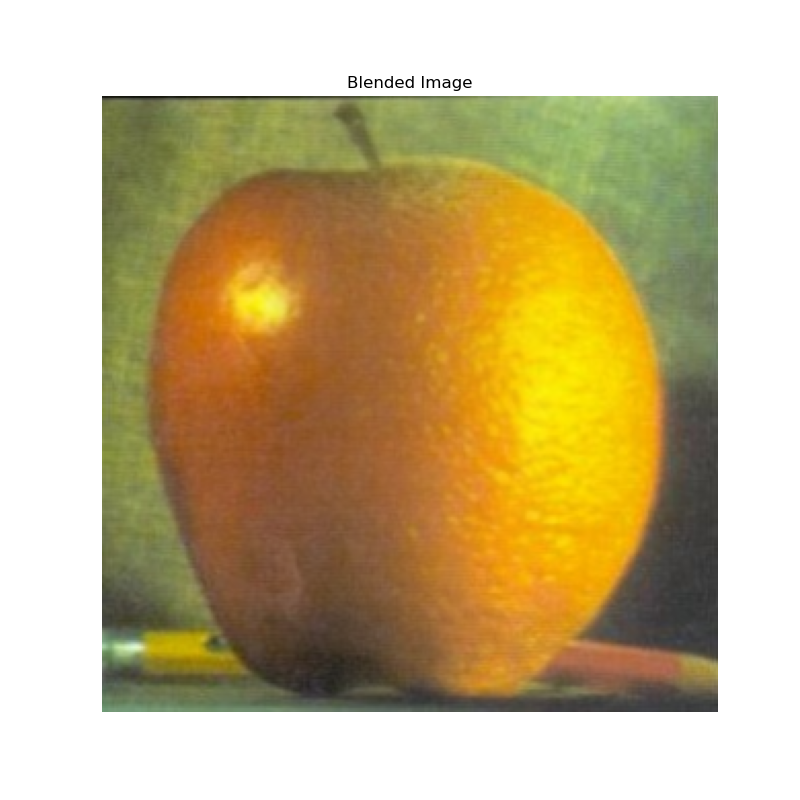
Part 2.4: Multiresolution Blending (a.k.a. the oraple!)
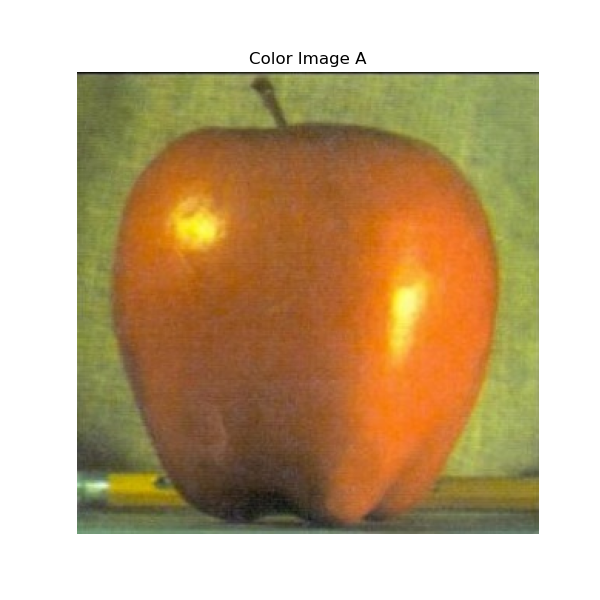
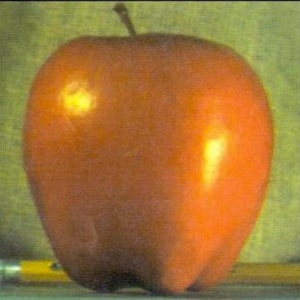
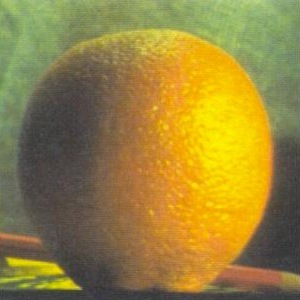
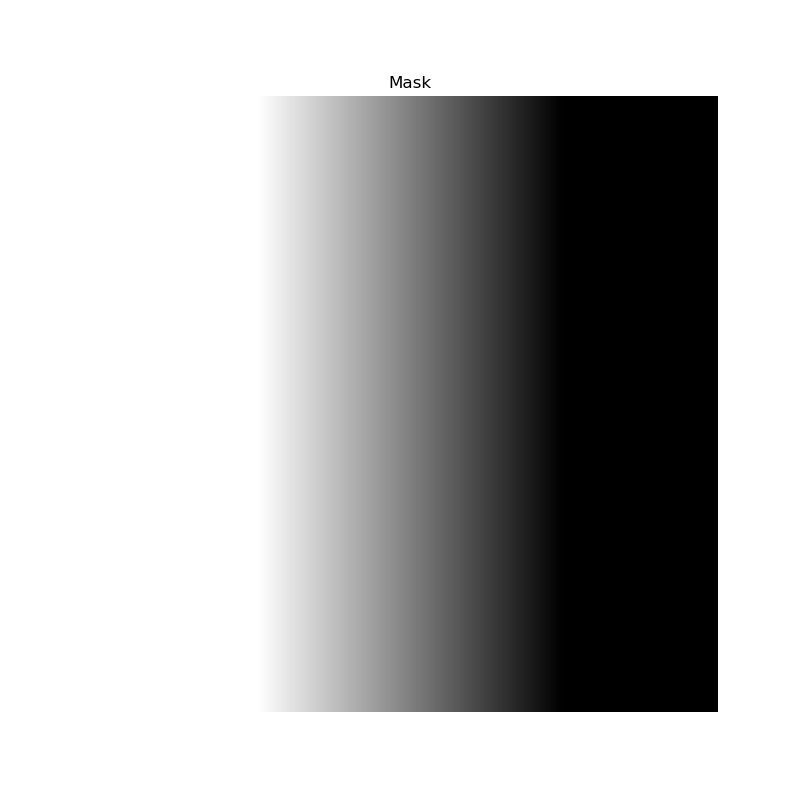
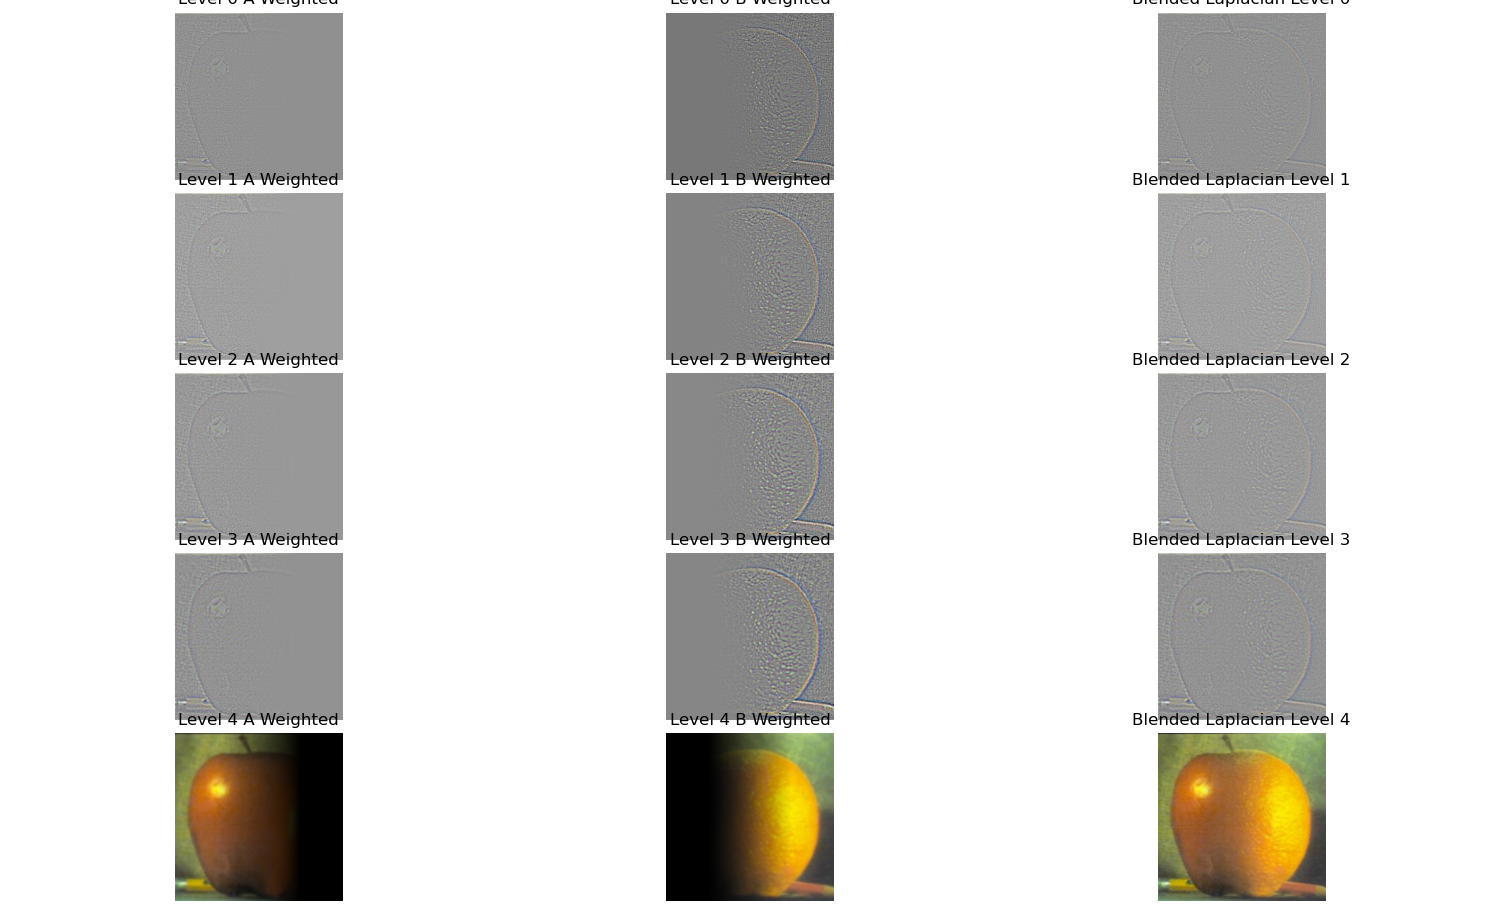
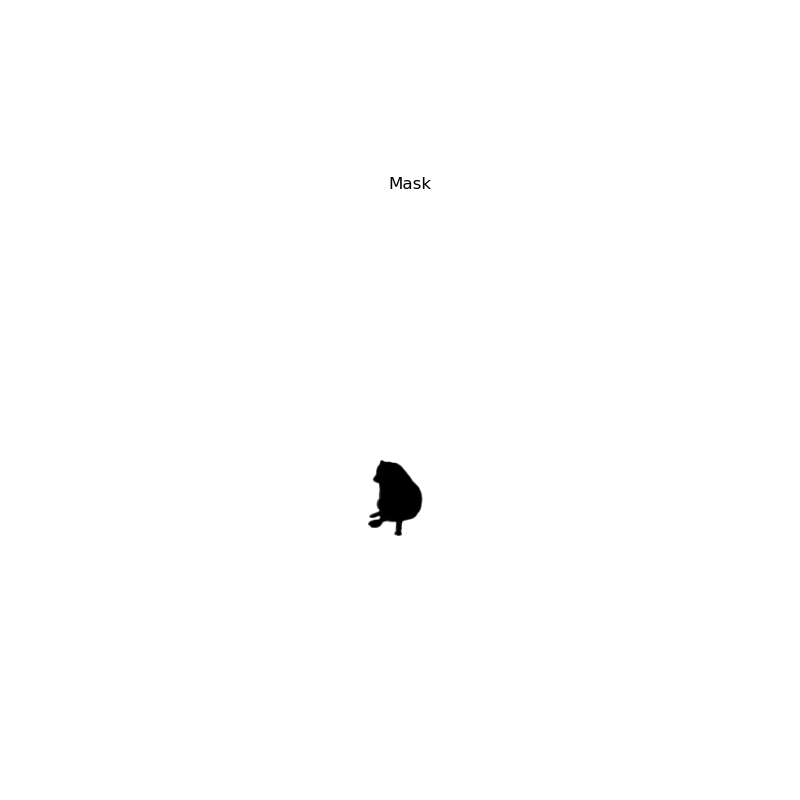
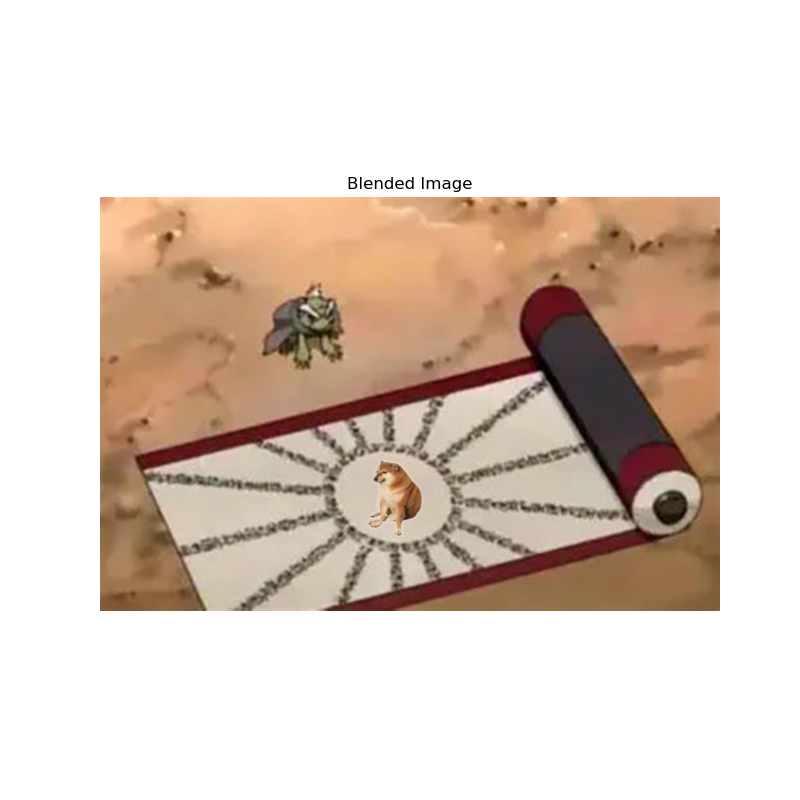
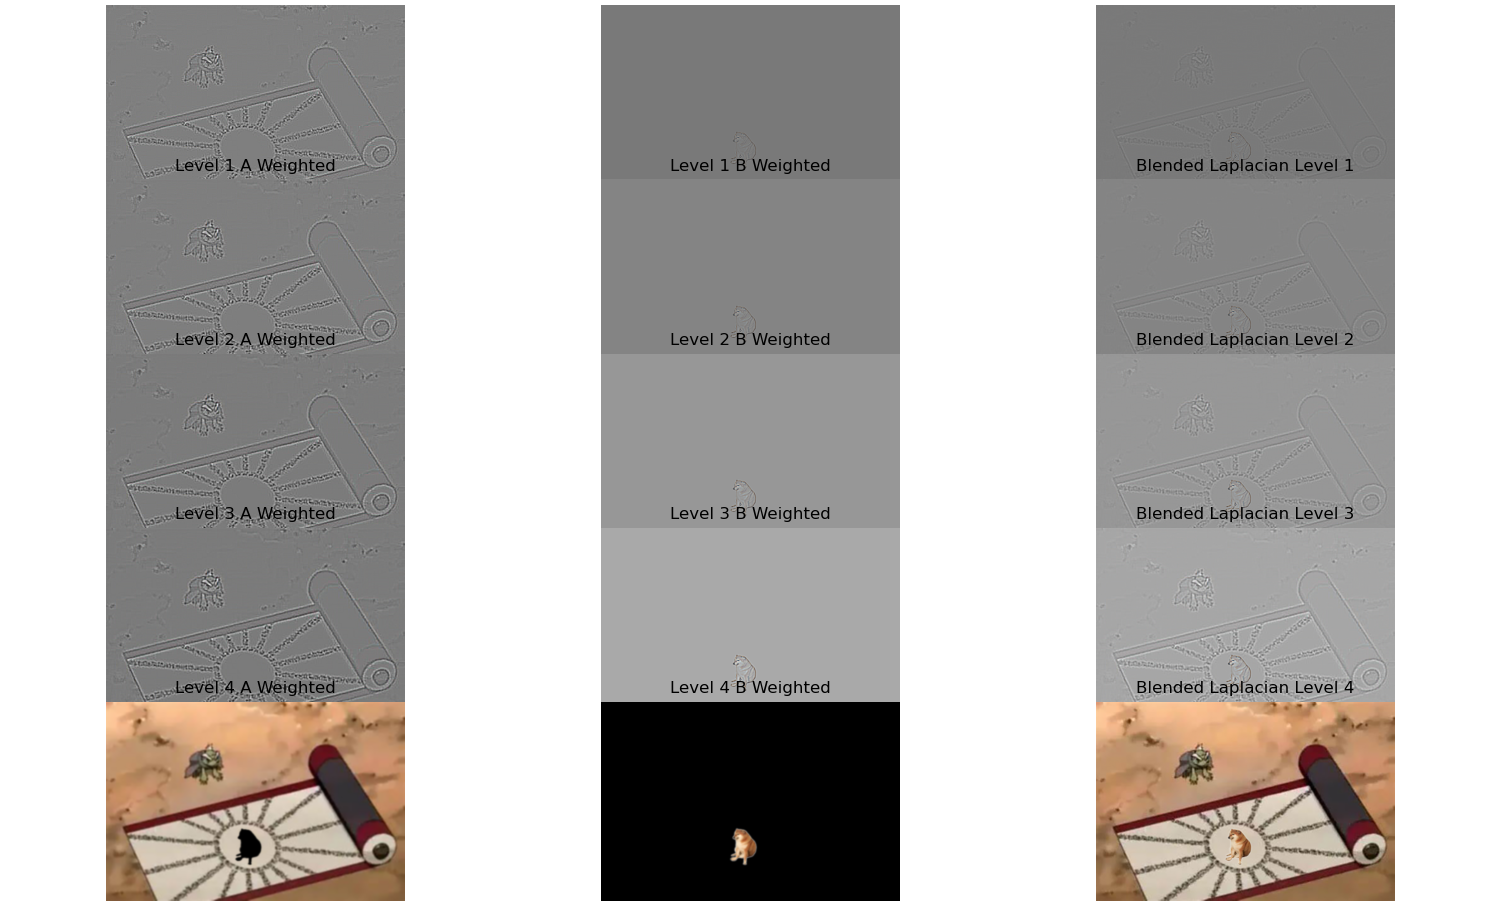
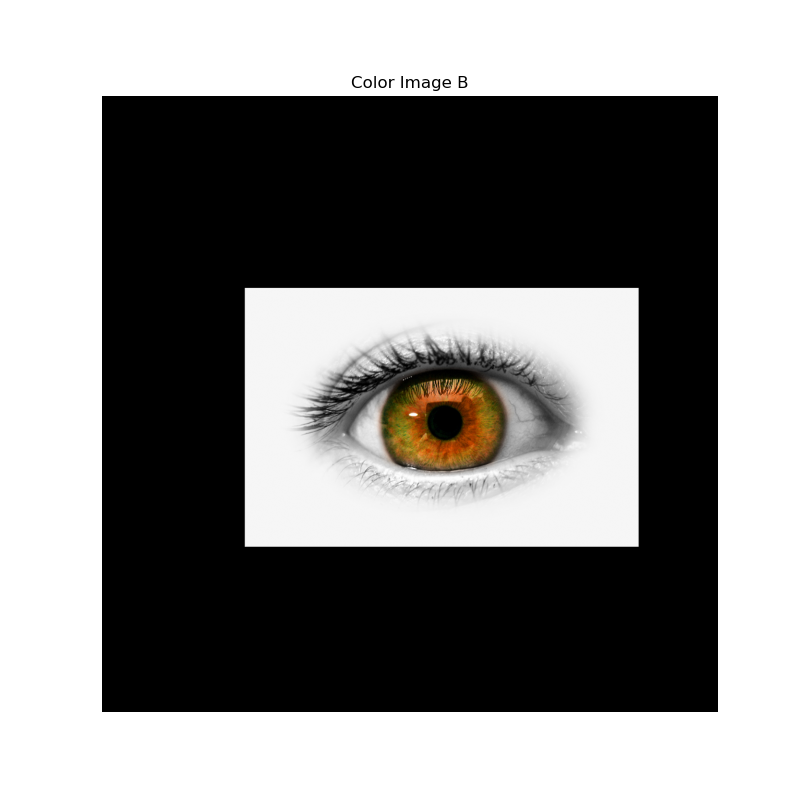
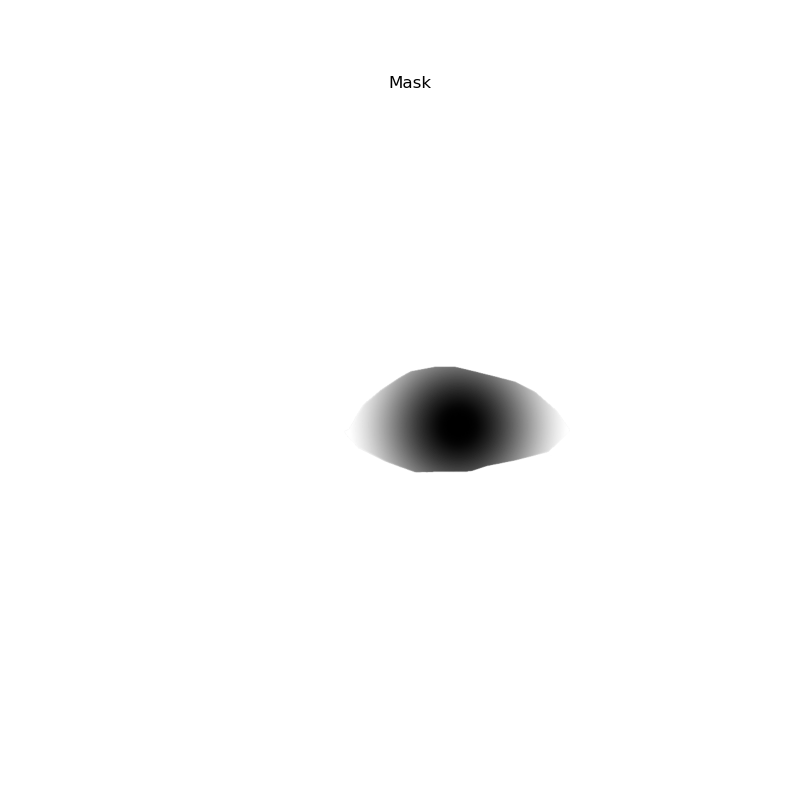
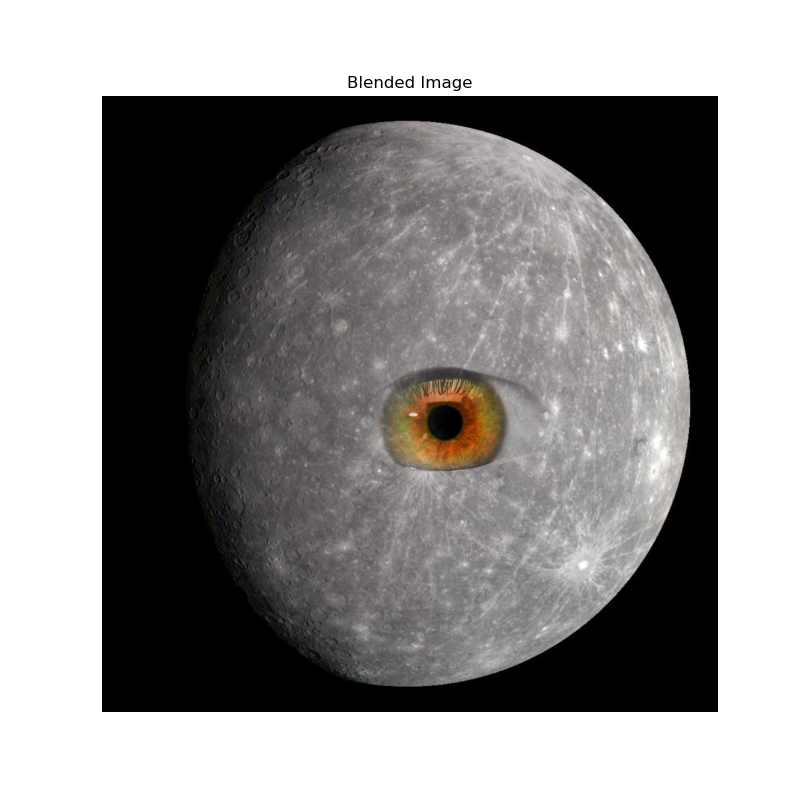
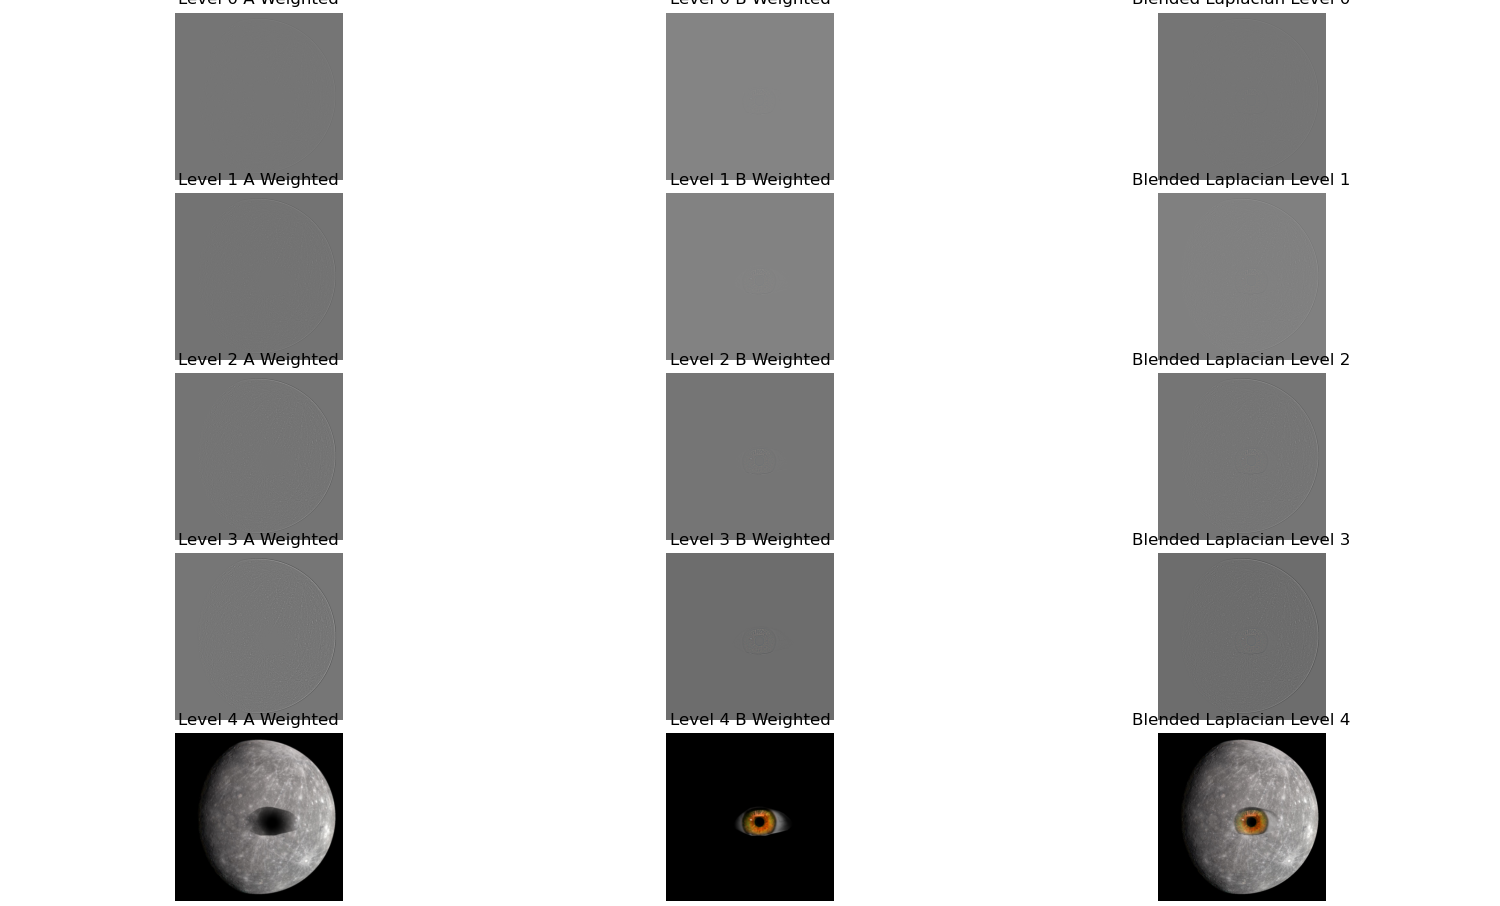
I implemented a multi-level blending of two images using the Laplacian pyramid. First, I loaded two images and a mask image to control the blending region, converting the images to floating-point format. For each image, I created a Gaussian pyramid for the three color channels by progressively applying Gaussian blur, generating a sequence of images from high to low resolution. Based on the Gaussian pyramid, I constructed the Laplacian pyramid by calculating the difference between adjacent Gaussian layers, preserving the image's detail information, with each layer containing details at a corresponding resolution. I applied the same process to the mask, creating a Gaussian pyramid for it, where each layer determines the blending ratio of the two images at different scales.
Combining the Laplacian pyramids of the two images with the mask pyramid, I performed weighted blending of the images at each level according to the mask's weights, thus blending image details across multiple resolution levels. Finally, I used the blended Laplacian pyramid to reconstruct the image, progressively restoring details from the lowest resolution upwards, resulting in a fully blended image with smooth, natural transitions.
To demonstrate the effectiveness of this multi-level blending technique, I applied it to a pair of images: one of a daytime city skyline and another of a nighttime skyline. Using a gradient mask that transitions smoothly from left to right, I blended the two images so that the final result shows a seamless transition from day to night across the cityscape. The blended image retains the bright details of the daytime scene on one side and gradually incorporates the illuminated buildings and night sky on the other.
This process involved creating Gaussian and Laplacian pyramids for both images and the mask. By blending at each level of the Laplacian pyramids, the method effectively combines the low-frequency components (like the general color and lighting) and high-frequency components (like edges and textures) of both images. The mask's Gaussian pyramid ensures that the blending occurs smoothly across scales, preventing any harsh edges or noticeable seams in the final image.
One of the significant advantages of using Laplacian pyramid blending is its ability to handle images with different exposures or lighting conditions. Traditional blending methods might result in visible seams or ghosting effects, but the multi-resolution approach mitigates these issues by appropriately combining image details at various levels.
This technique is highly versatile and can be applied to a wide range of image blending tasks, such as creating artistic effects, panoramas, or even blending different textures in graphic design. The key is in constructing appropriate masks and pyramids to control how and where the images blend, allowing for creative and seamless composites.

